I’ve had a few queries about my process so I thought I’d document some of the techniques I use. As you can see from the work I’m not afraid to roll out some heavy manipulation – my aim is a pleasing image not a ‘record’ of events on the day and at times I’m working with some poor material (’cause I just did not get a decent shot) and at others I feel the tweaks and enhancements serve to improve the outcome.
I can’t recommend doing something like this enough to anyone who wants to explore/push their photographic intuition. A camera phone is a great way to keep things simple – it’s always in your pocket and there are no lenses or accessories to worry about. For me, having the discipline of posting daily forced me to to think and look for images and was a great motivator. Trust me, committing to doing this for 365 days is no small undertaking but looking back I would do it again in a heartbeat (and have a few times now!).
Finding a good workflow and keeping it simple is the best way to ensure continuity and success and I’ll break mine down for you.
- Getting set up – hosting the blog
I use a self-hosted wordpress.org blog hosted by justhost.com – very good support and service and unlimited space – if you want to go it alone. I chose this as I have a bunch of other sites and have a background in mucking around with the web.
If you’re not comfortable hosting it yourself you can get a free account with wordpress.com and achieve exactly the same results – I’d really recommend this route unless you are comfortable with web technologies.
- Camera and software
I have gone the iPhone route and I find this a great combination and links well with my Mac at home using Aperture for my master library of images. I’ve been through many generations of the phone and the photo quality just keeps improving. My current project in 2019 is based on an iPhone Xs
If you are using an iPhone I find ProCamera a great alternative to the built in camera app – loads of fine grained controls if you need them.
ProCamera – is a great replacement for the inbuilt camera with focus and exposure controls. Editing Software
Polarr – great for fine control editing 
Snapseed – bold editing, great for boosting contrast and detail - Posting images
There really are any number of ways to go from camera to post but I have found that making it as simple as possible allows me to get the day’s post up from say my commute to work on the train from my phone or iPad.So, for me, the upload process is done via the iOS WordPress apps

- Manipulation – just go for it
Here are a few examples of before and after…
| Before | After |
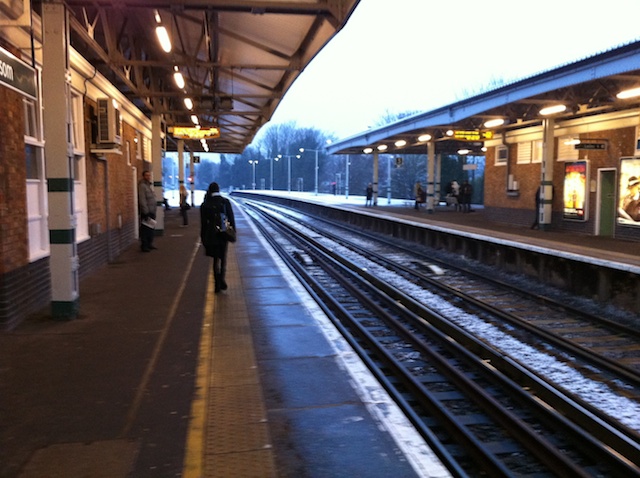
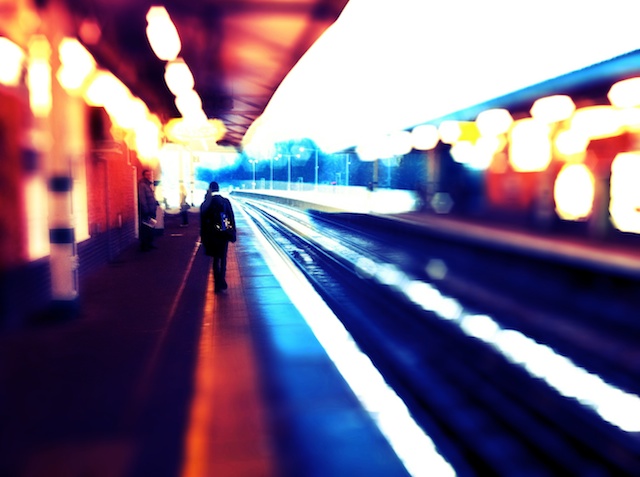
| This was a dull wintry day with very flat colours but the geometry of the scene was appealing. The blurring, colour and contrast boost accentuated the lines while removing small distracting details. | |
  |
  |
|
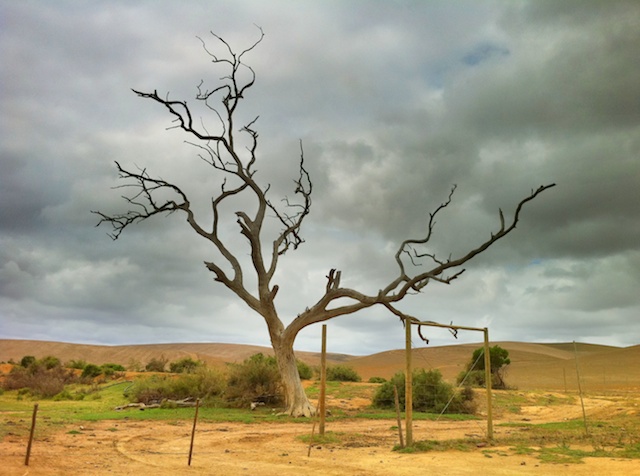
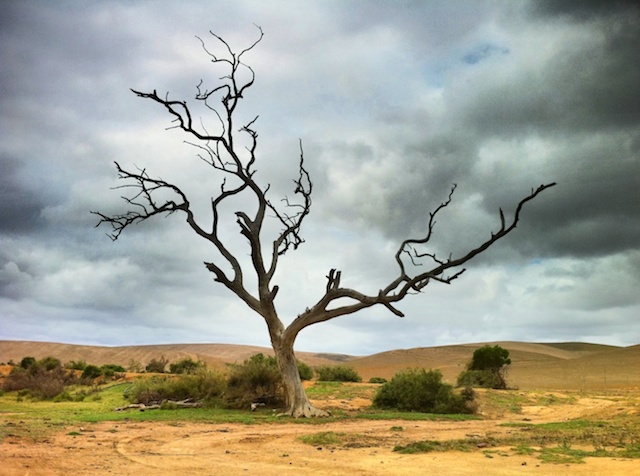
Here I enjoyed the contrast of the tree with a moody sky. I could not frame the scene without the foreground fence so I took the liberty of removing it digitally as it was a distraction. |
|
  |
  |
|
Here another flat scene benefited from a colour and contrast boost. I cloned in some detail over the burned out sky and was looking to convey a sense of cold wintry damp. |
|
 |
 |
|
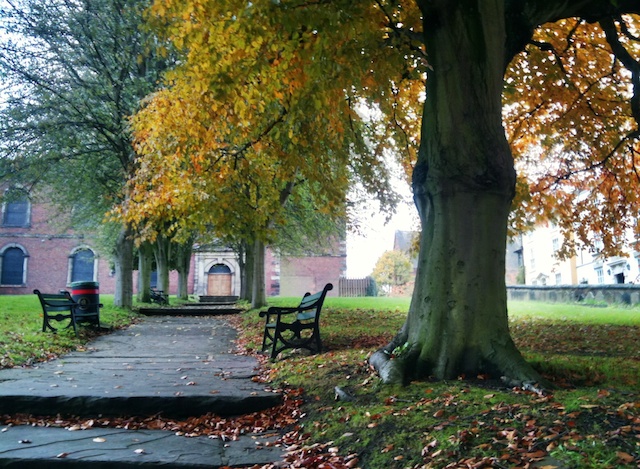
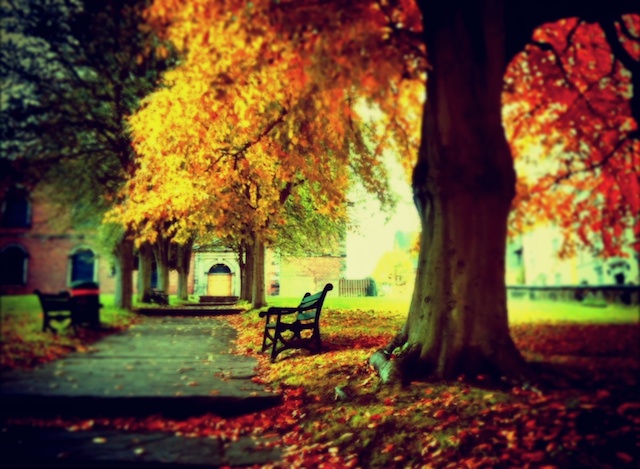
I found this churchyard scene quite evocative and that the heightened filtering accentuated the autumn colours while the contrast and vignetting added a bit of mood. |
|
  |
  |
|
Cheesy gimmick. The Tiltshift app allows for “shaped” highlights and the bokeh effect provides the heart shapes. |
|
  |
  |